You’ve mastered all the SSH settings on your Linux/Mac and suddenly you’re thrust into the Windows world and need to access another machine via SSH. Old-school Windows users will probably download PuTTY. That should allow the most basic SSH operations. But once you need to do some more advanced stuff, you’ll also need to download puttygen to generate a new SSH key. And if you don’t want to constantly enter the SSH key’s passphrase you’ll also need pageant as well. (Don’t even think about using SSH keys without passphrases!)
That sounds like a lot of hassle. Luckily Microsoft got their shit together and distribute SSH on any recent installation of Windows 10 and 11. It’s all ready to go from the command line. You’re using Windows Terminal (Windows Terminal in the Microsoft Store), right?
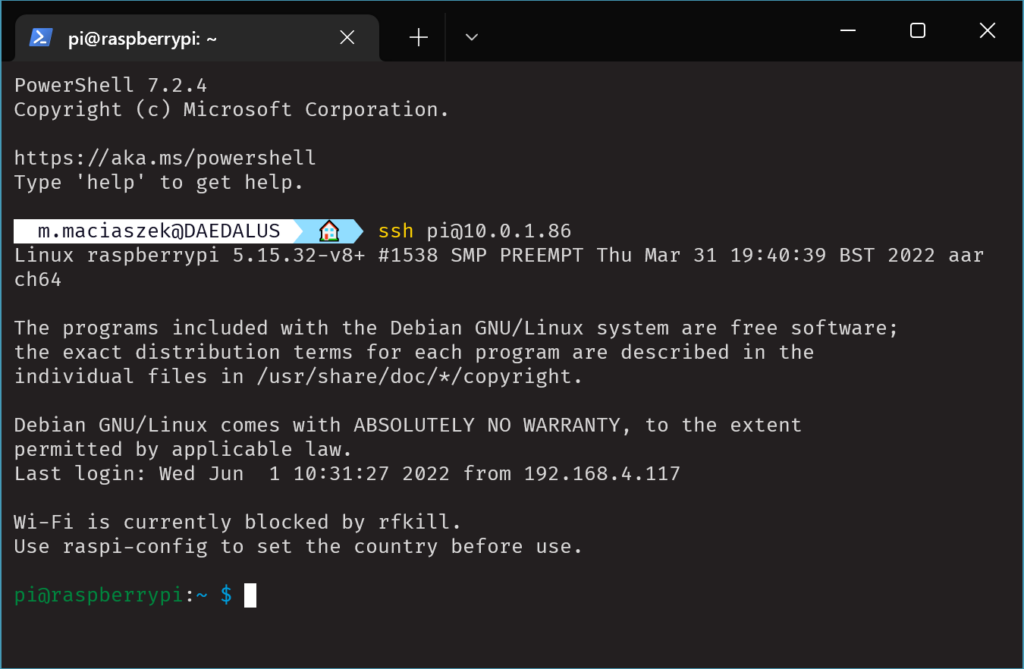
Just open up Windows Terminal and try it out!
Generate SSH key
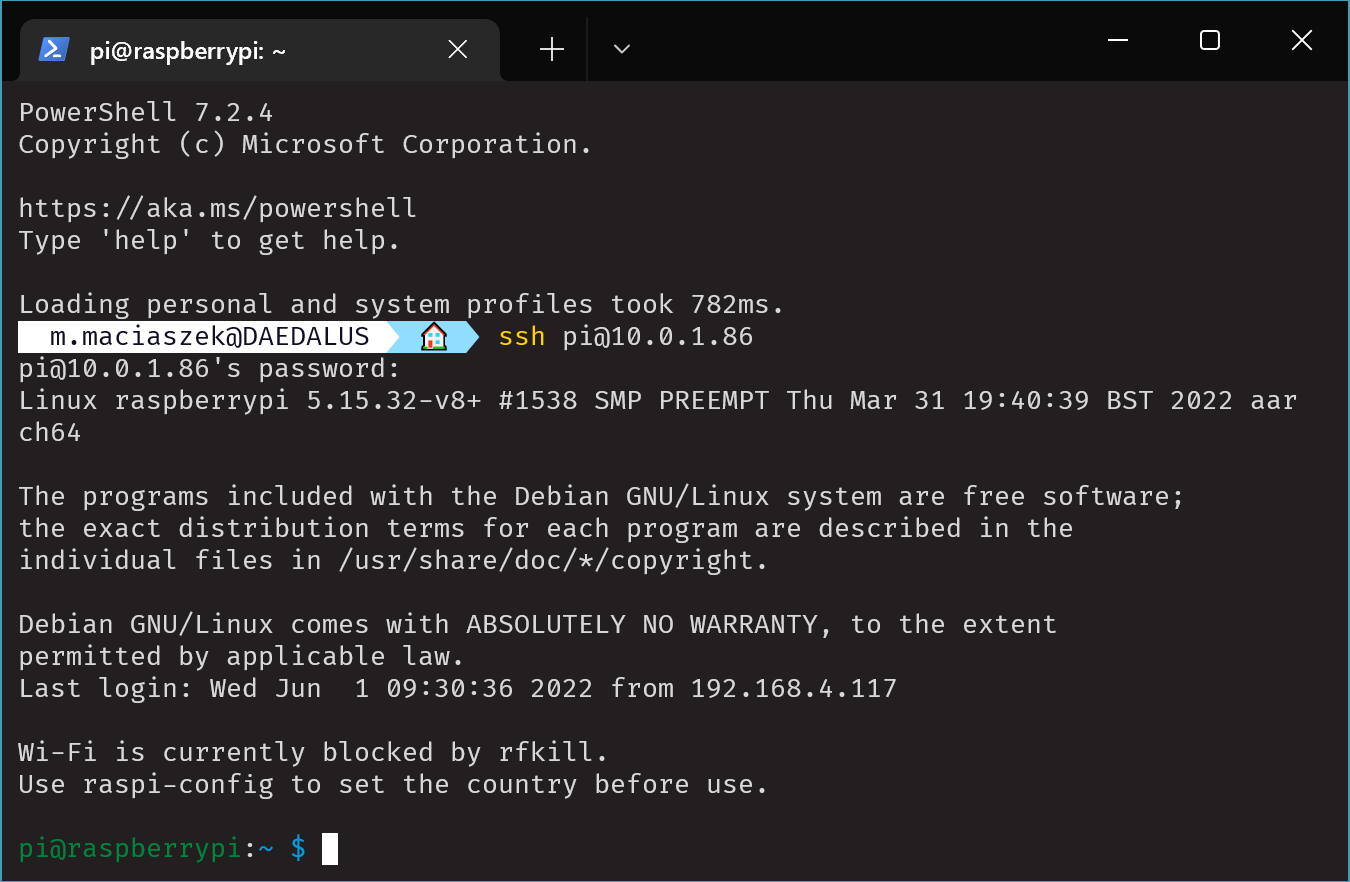
It works! But it’s no fun! You probably want (or need) to use SSH keys for authentication. Since the implementation of SSH on Windows is actually OpenSSH it comes with all the other commands you’re used to. Just use ssh-keygen to generate a new SSH key.
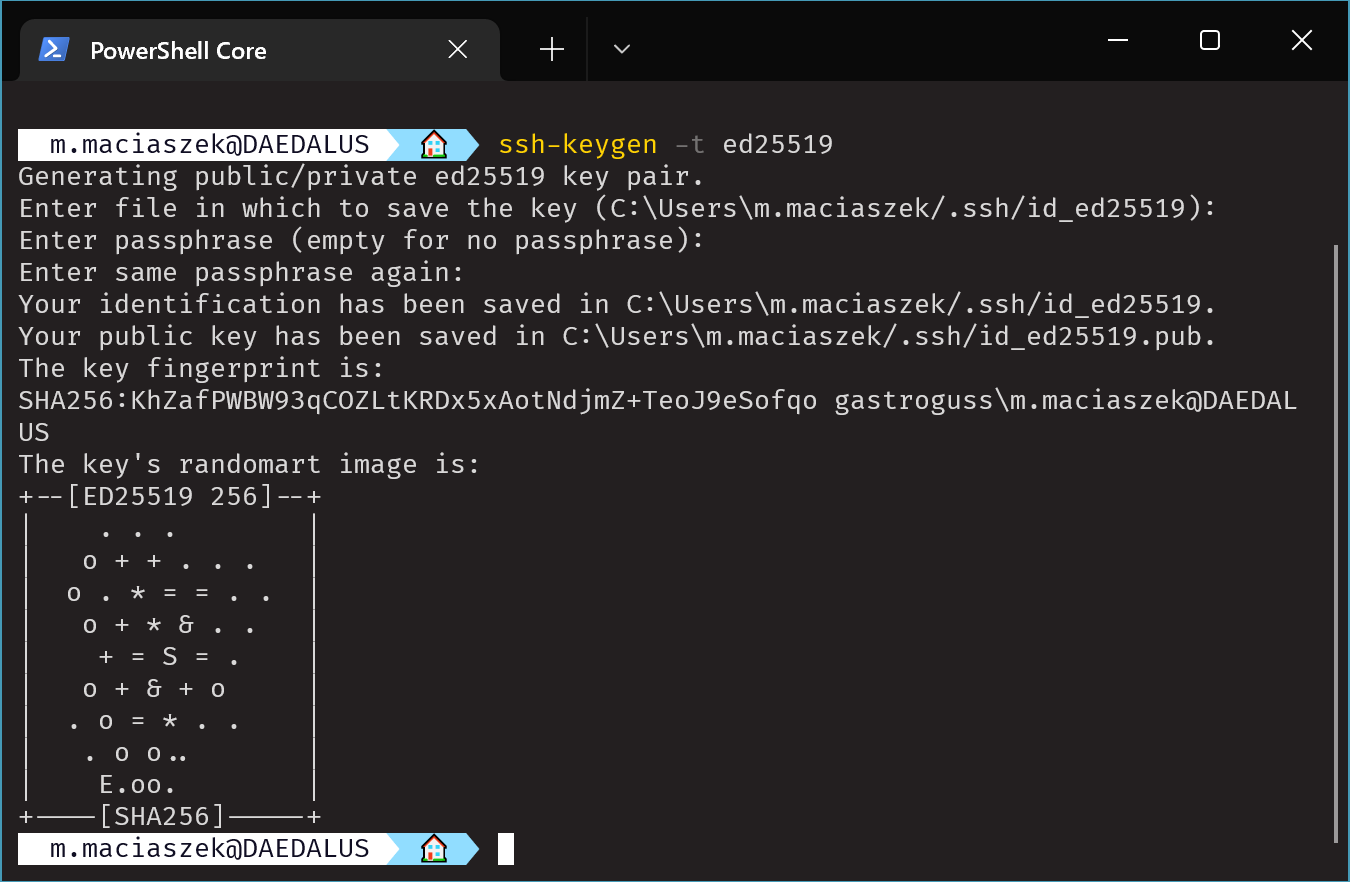
In my case I generated an ED25519 key. If you ever generated an SSH key on Linux or macOS this should look very familiar.
Unfortunately ssh-copy-id is missing on Windows. So getting that public key on a remote machine is a bit clunky. The simplest way I could come up with is this:
type $env:USERPROFILE/.ssh/id_ed25519.pub | ssh {REMOTE_HOST} "cat >> .ssh/authorized_keys"Obviously replace {REMOTE_HOST} with the real host here. And make sure you’re copying the public key! (Note the .pub at the end of they key file) While writing this article I accidentaly copied the private key over and spent several minutes trying to figure out why things weren’t working as expected.
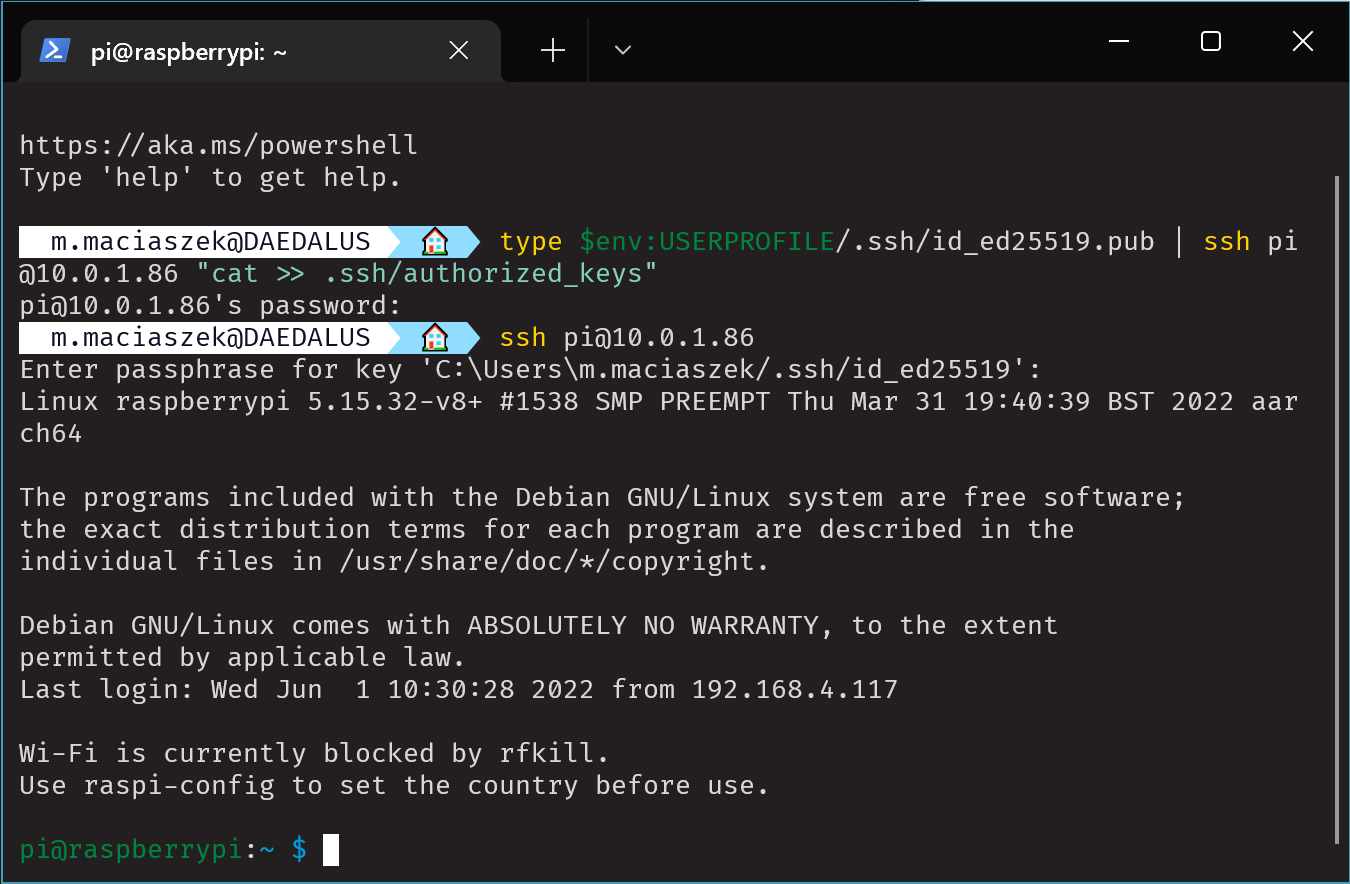
As you can see in the screenshot on the second connection I was asked for the passphrase for my .ssh/id_ed25519 key. We’re getting somewhere!
Enable ssh-agent
The final piece of the puzzle is ssh-agent. Nobody likes entering a passphrase on every connection. Once per session (however you define session in this context) should be enough.
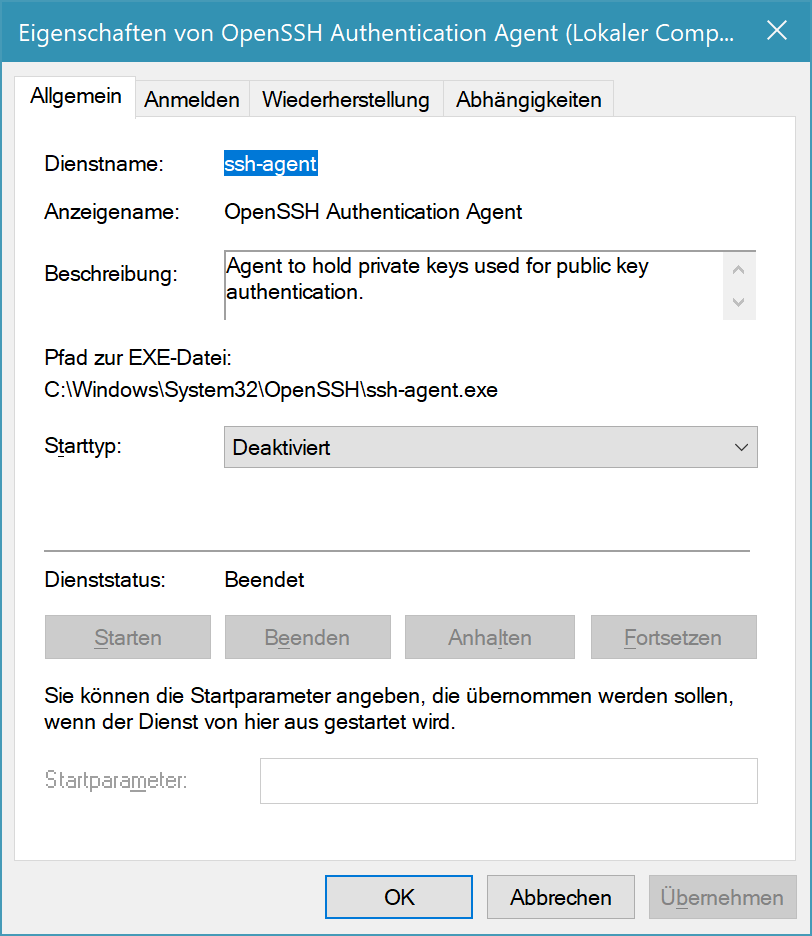
By default Windows comes with ssh-agent but it’s disabled by default.
You can also check the status of the agent from the shell.
Get-Service ssh-agentYou can enable ssh-agent in the services snap-in of MMC.
Or you can use the shell. You will need local admin privileges for these commands to work. (Run terminal as administrator)
Get-Service ssh-agent | Set-Service -StartupType automatic
Start-Service ssh-agent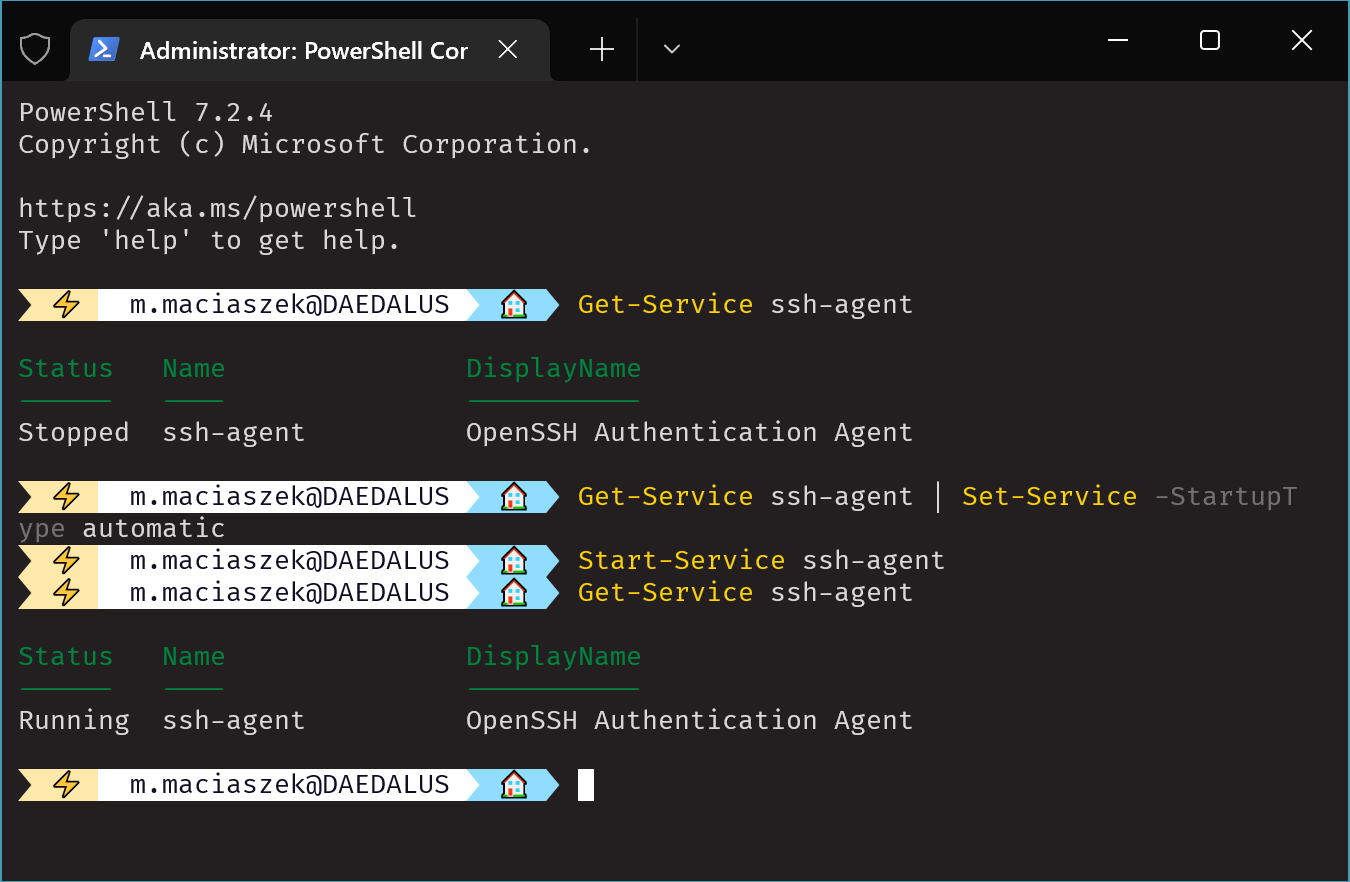
Once that’s done you can return to your regular (non-privileged) terminal. If the previous commands executed without any error you should be able to try to list all loaded SSH keys in the agent. Try ssh-add -l in the terminal.
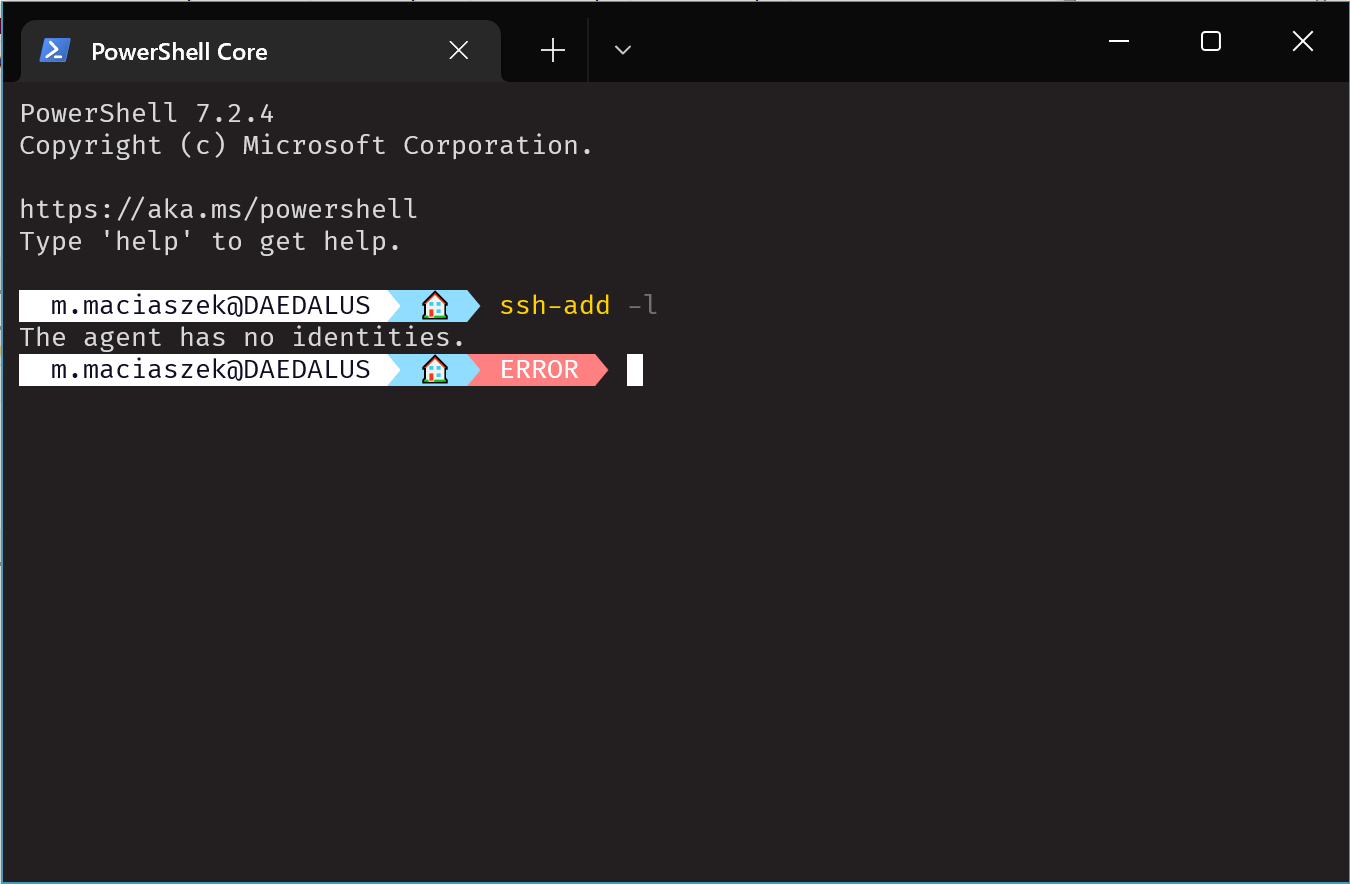
You should get an error message stating that the agent has no identities loaded.
So let’s load up that key that you previously generated.
ssh-add .\.ssh\id_ed25519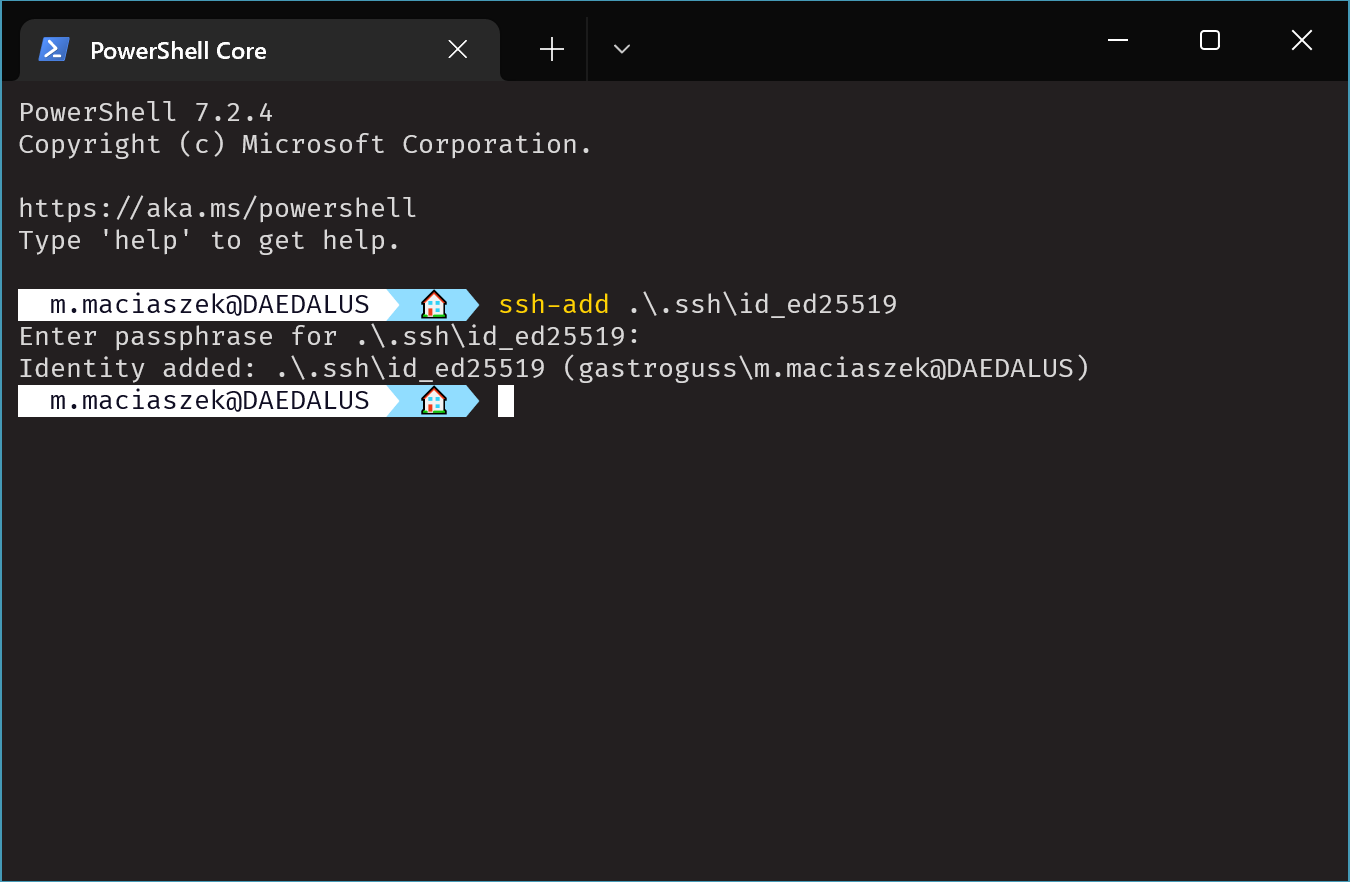
You’ll be asked for the key’s passphrase and then you’re finally ready to go.
Connect to the host once again. If you followed my instructions correctly ssh should not ask again for the ssh key’s passphrase on connecting.